Expectations
The photo protocol: how to photograph your hair so you can actually see what is changing

The single most common reason women give up on a treatment that was working is that they could not see it working. Hair changes by a few per cent a month, and the eye cannot detect a few per cent. A camera, used the same way each time, can.
The four photographs
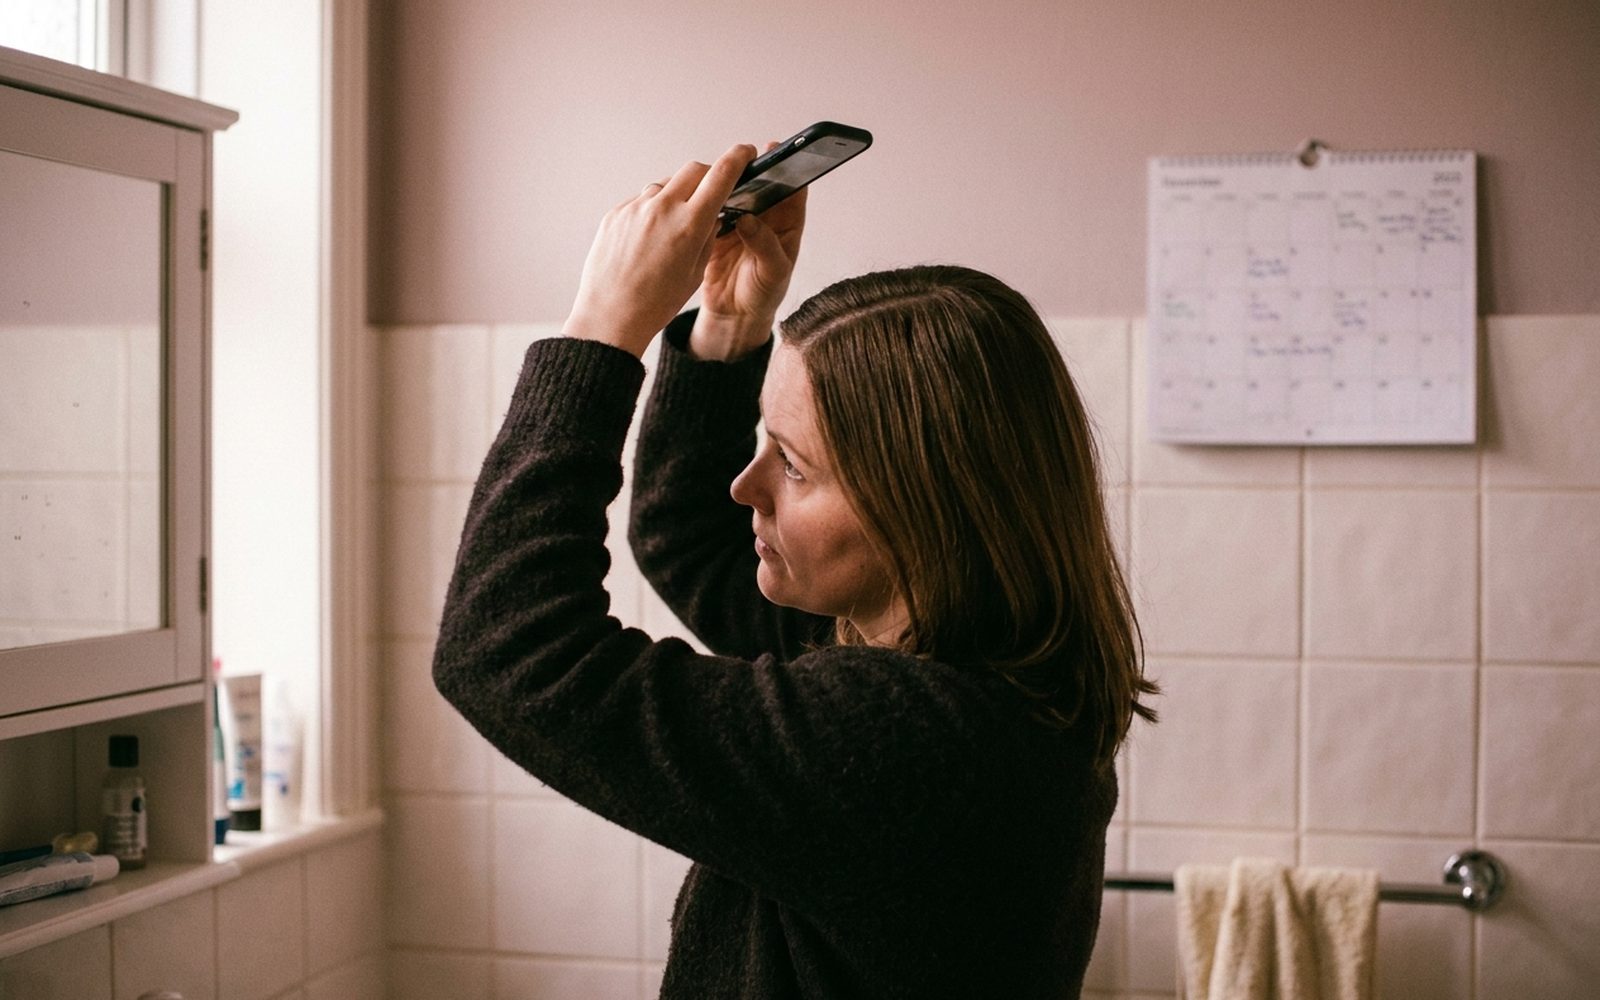
1. Parting from above. Comb a centre parting (or your usual parting, in the same place every time). Hold the phone directly above the head, screen facing down, about 30 cm up, and take the photo looking straight down. If you cannot see the screen, use the volume button to shoot and check afterwards. This is the most important image.
2. Front hairline. Hair pushed back off the face with a soft band. Phone at eye level, straight on, about 40 cm away, face relaxed. Include the eyebrows for scale.
3. Each temple. Hair pushed back. Phone at eye level, 45 degrees to the side, so the corner of the hairline is in the middle of the frame. Left and right.
Not sure which one is you?
Take the two-minute hair quiz
Twelve quick questions. We tell you what we think is going on, what to do about it, and we say so if it is something we cannot help with.
Start the quiz →4. Crown from behind. Phone above and behind the head, angled down at the whorl. Easier with help; possible alone with a mirror and the timer.
The rules that make the photos comparable
Same light. Choose one spot — a bathroom with the ceiling light on and the blind closed, so daylight cannot vary — and use it every time. Overhead light exaggerates thinning, which is fine, because it is consistent.
Same hair state. Dry, brushed, no product, the day after washing. Never wet, never with dry shampoo in.
Same length, roughly. A haircut changes how the parting looks. Note the date of cuts alongside the photos.
Same day of the month. Set a repeating reminder. The first of the month is easiest to remember.
No flash, no filters, no zoom. Flash flattens; filters lie; zoom changes what is in frame.
How to compare
Do not compare this month with last month; the difference is too small to see and you will feel nothing is happening. Compare this month with three months ago, side by side on the screen. Look at the amount of scalp visible along the parting, the density of hair an inch back from the hairline, and the presence of a band of short new hairs at the front. At three months on a treatment that is working you will usually see the shedding calm and the first regrowth; at six, density; at twelve, the difference you were hoping for.
Add the numbers
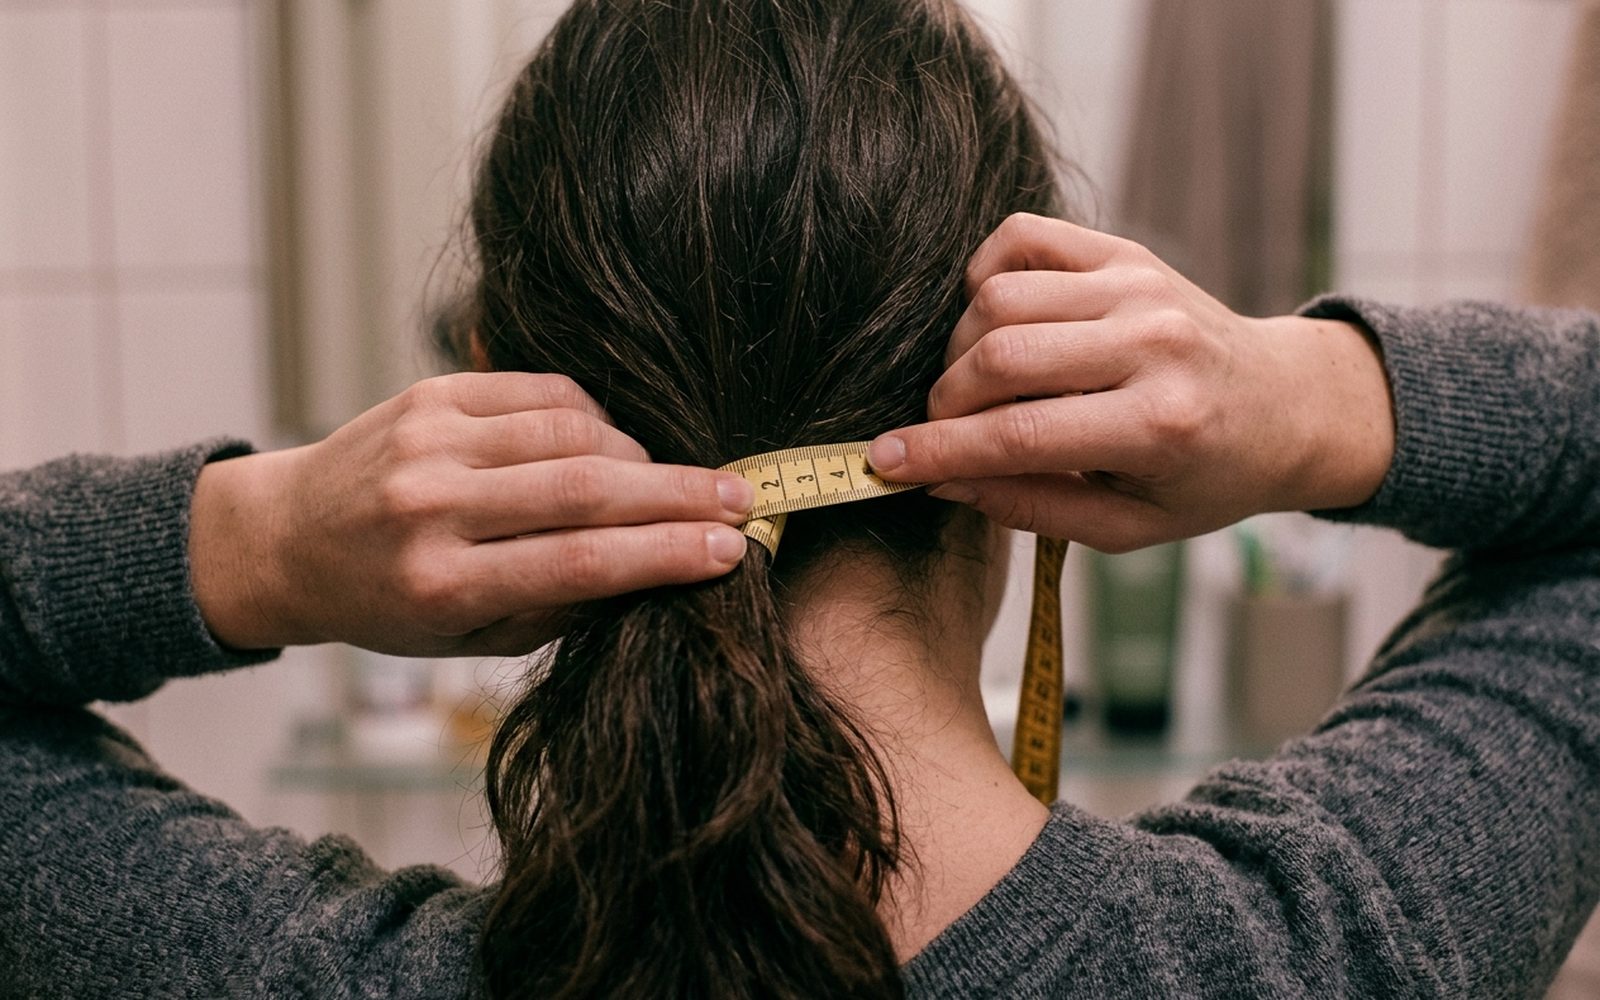
The ponytail circumference — method here — and a note of what you were doing that month: started a treatment, stopped feeding, changed contraception, had a cold, cut the hair. In a year you will have a record that a trichologist would pay to have, and it will tell you what worked.
Ready to read your own pattern?
Take the two-minute hair quiz
Twelve questions. We tell you what we think is going on for you, and we say so if it is something a GP should see first.
Start the quiz →